Mailchimp
Mailchimp is a popular email marketing service and marketing automation platform. It allows individuals and businesses to create, send, and track email campaigns to their subscribers. Mailchimp provides an intuitive interface with various tools and features to help users design visually appealing emails, manage their contact lists, and analyze the performance of their email marketing efforts.
Getting Started
To successfully configure Mailchimp as a destination in Ucraft Next, you need to create a Mailchimp account to get the API Key, Audience ID, and DataCenter ID.
Get the Mailchimp API Key
- Log in to the Mailchimp account.
- Go to Account & billing on the right side of your page.
- Click Extras and select API Keys from the drop-down list.
- Click Create A Key in the form that opens.
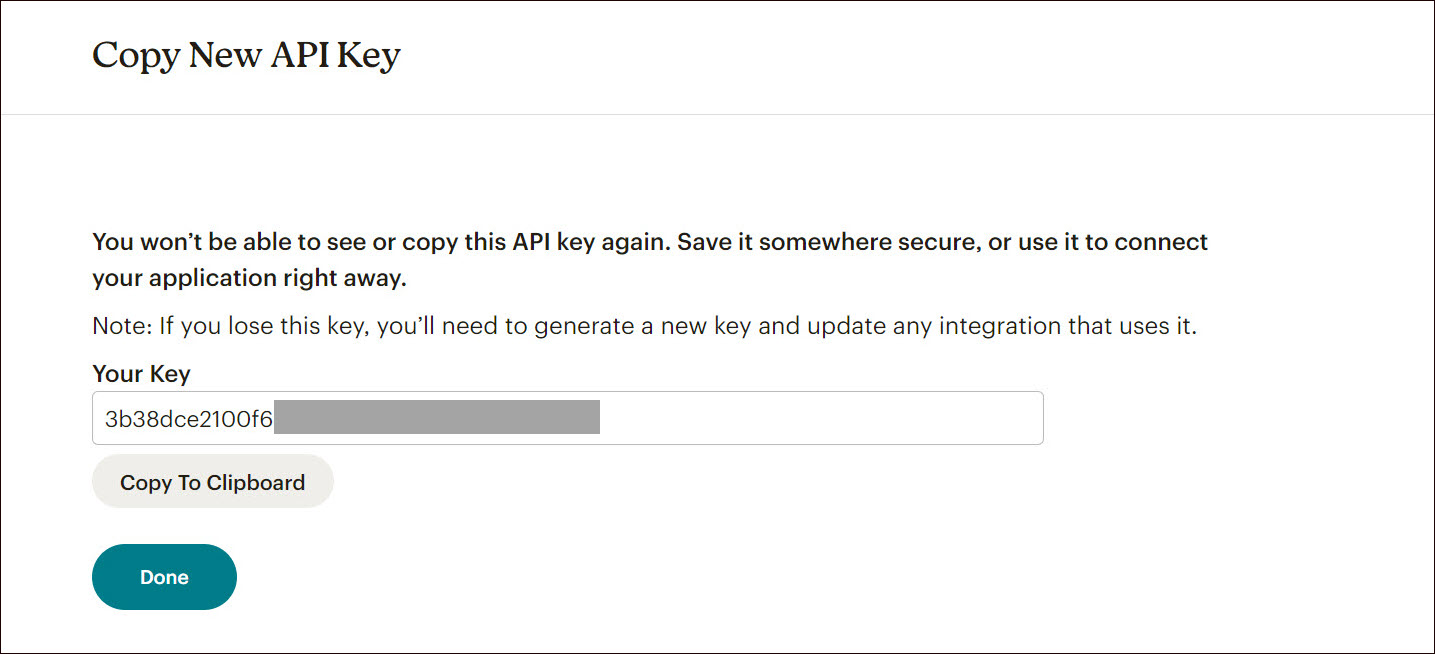
- Enter the key name and click Generate Key.
Get the Mailchimp Audience ID
- Log in to the Mailchimp account.
- Go to Audience > Audience Dashboard > Manage Audience.
- Click the Settings drop-down and select Audience name and defaults.
- The ID is displayed on the Audience ID section.

Get Mailchimp DataCenter ID
To get the DataCenter ID you can refer to your Mailchimp URL in the browser. For example, if your URL is https://us21.admin.mailchimp.com/account/api/, the DataCenter ID is us21 in this case.
Or you can refer to the API Key. For example, if your API key is 3b38dce2100f65421243d67b054ae15c-us21, the DataCenter ID is us21.
Set up Mailchimp
Go to Apps on your Ucraft Next Dashboard.
Click Get App.
Select Mailchimp in the App Store.
Tip: To easily switch projects, click the project switcher at the top left of the page.
Click Get App and then click Install.
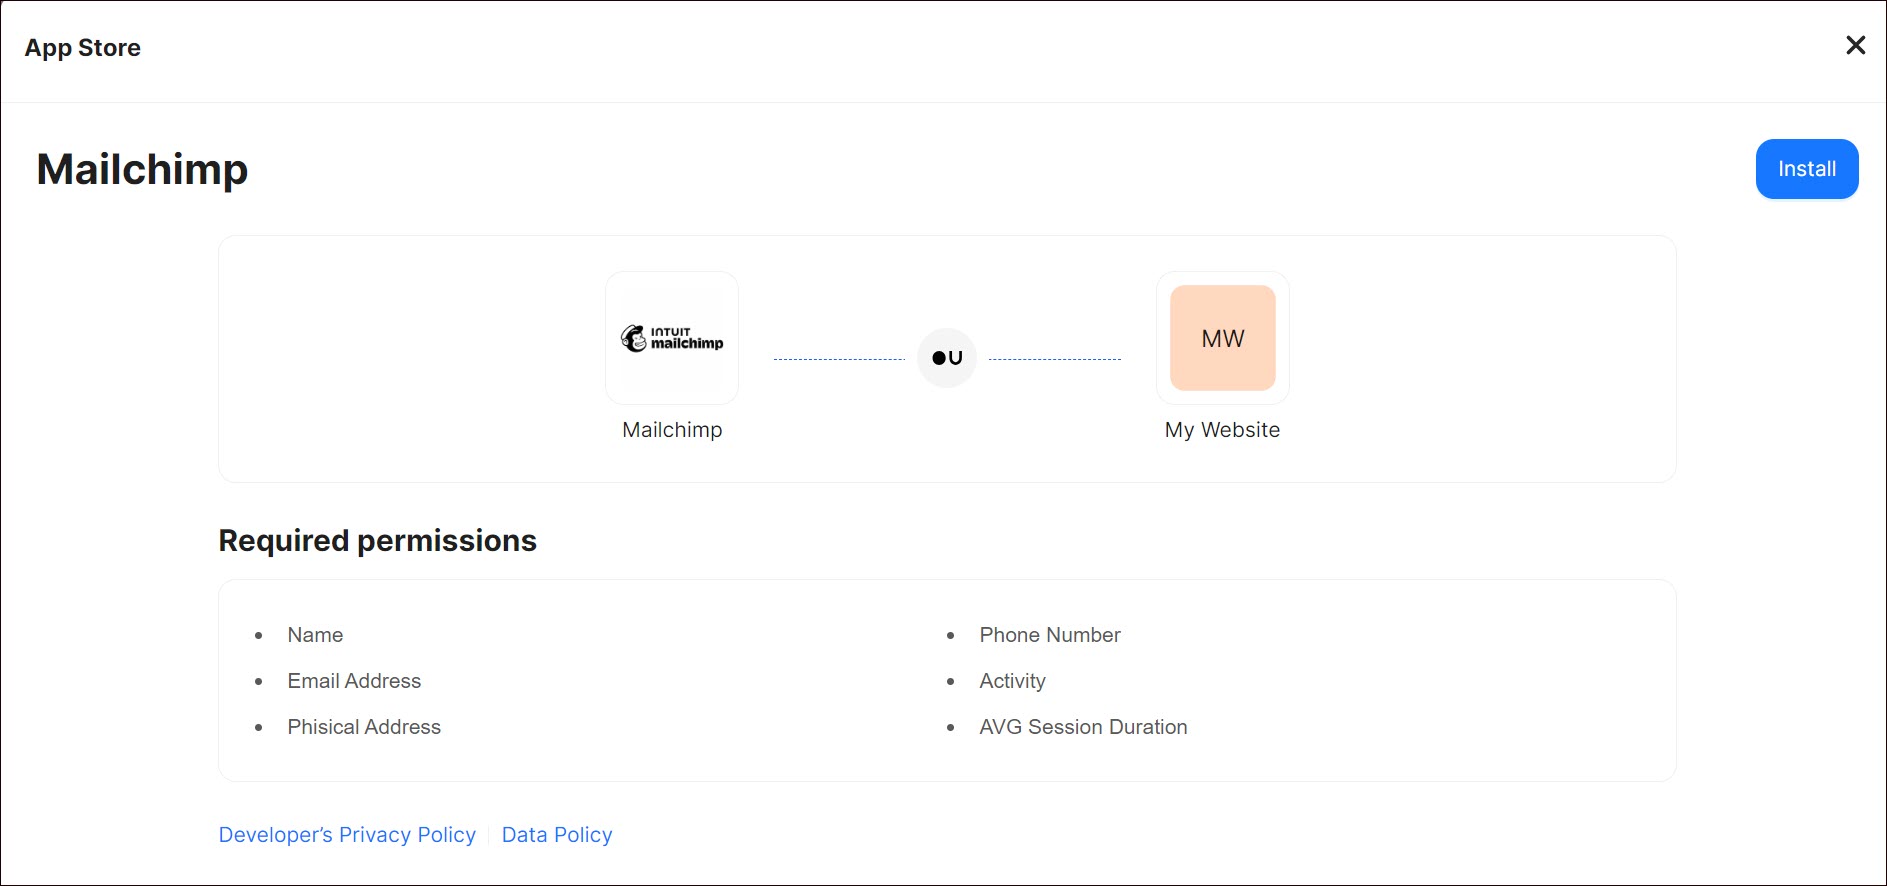
- Complete the purchase flow and click Go to my project.
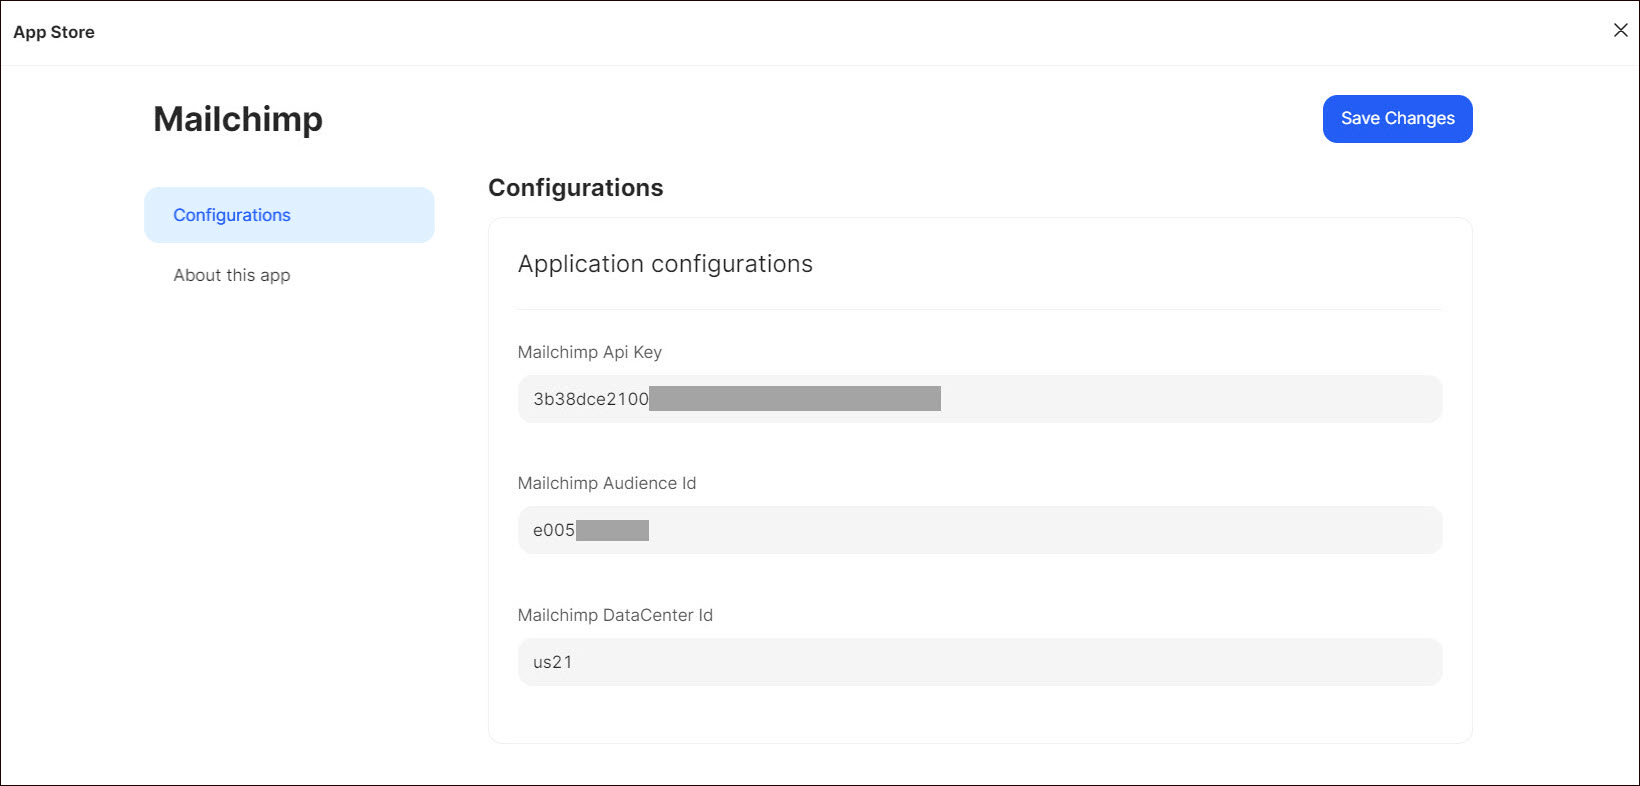
- Enter Mailchimp API Key, Mailchimp Audience ID and Mailchimp DataCenter ID.
- Click Save Changes.