Zendesk
Zendesk is a customer service software platform that provides tools for businesses to manage customer support, interactions, and relationships. It offers a range of products and features designed to help companies improve customer satisfaction and streamline their support processes.
Getting Started
To successfully configure Zendesk as a destination in Ucraft Next, in your Zendesk account, you need to get an API Token, Email, Zendesk Subdomain, and enable custom events.
Note: Ucraft Next supports the Suite Team plan and above.
Get an API Token
- Log in to your Zendesk account.
- Go to Admin Center on the right side.
- Click Apps and integrations.
- Go to APIs > Zendesk API.
Note: API token access is disabled by default. To enable API token access, activate Token access.
- Click Add API Token․

- Enter an API token description.
- Copy the token to your clipboard and click Save. When you click Save, the full token will never be displayed again. If you click the token to reopen it, a shortened version of the token is displayed.
Get Email
To get the email, refer to the email address used to log in to your Zendesk account.
Get Zendesk Subdomain
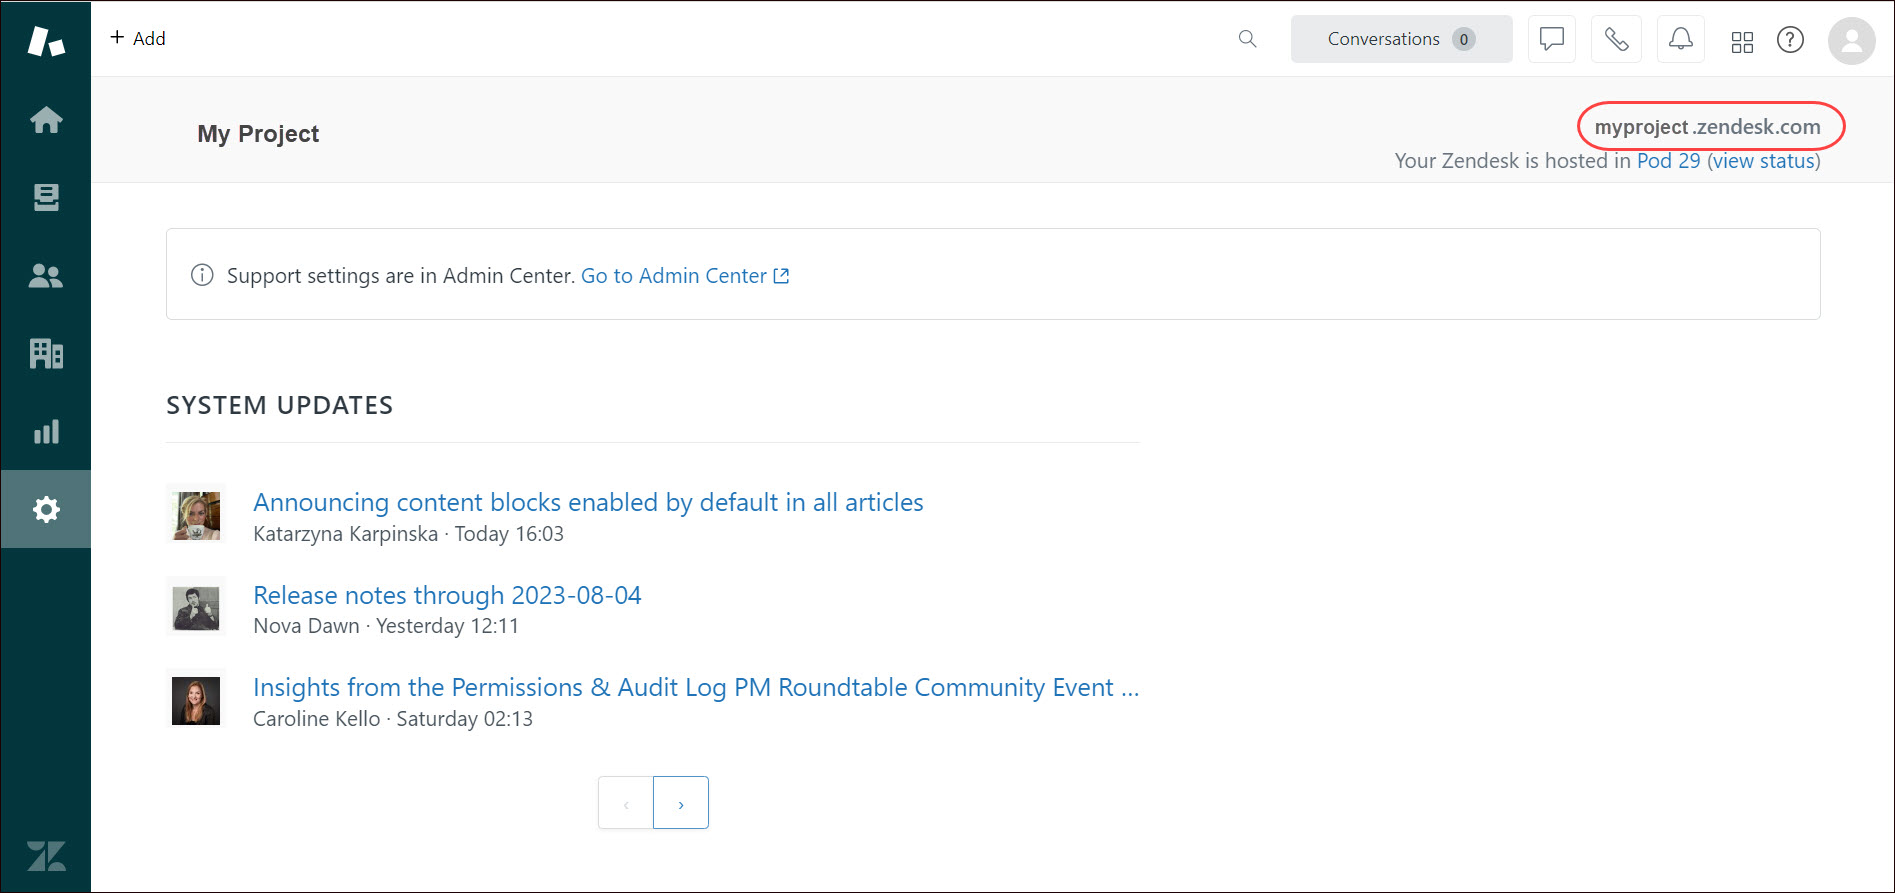
To get your Zendesk Subdomain, go to Admin on the left side panel and refer to your Zendesk subdomain excluding .zendesk.com displayed on the right side.

Enable Custom Event
- Go to Admin Center > Configurations > Events.
- Click the Custom events tab and select the activities that occur outside of Zendesk products.
- Click Save.
Note: The event list is generated according to customer actions.
Once you enable custom events, they are displayed in Customer context of the ticket.
Set up Zendesk
Go to Apps on your Ucraft Next Dashboard.
Click Get App.
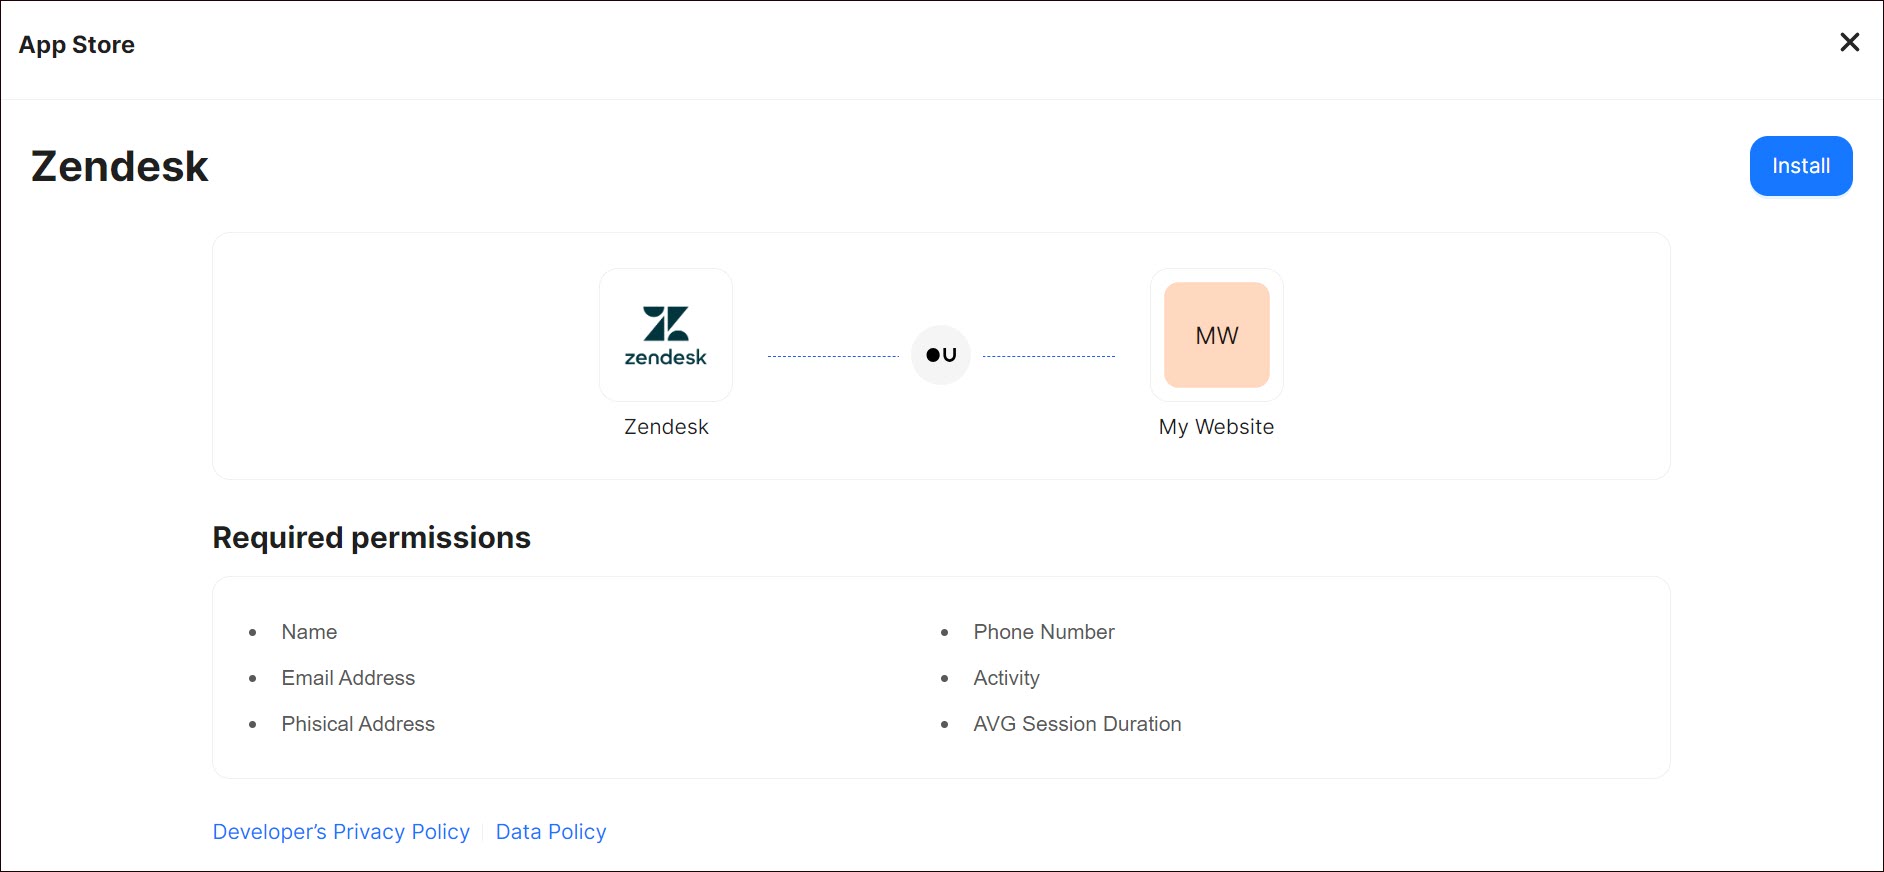
Select Zendesk in the App Store.
Tip: To easily switch projects, click the project switcher at the top left of the page.
Click Get App and then click Install.

- Complete the purchase flow and click Go to my project.
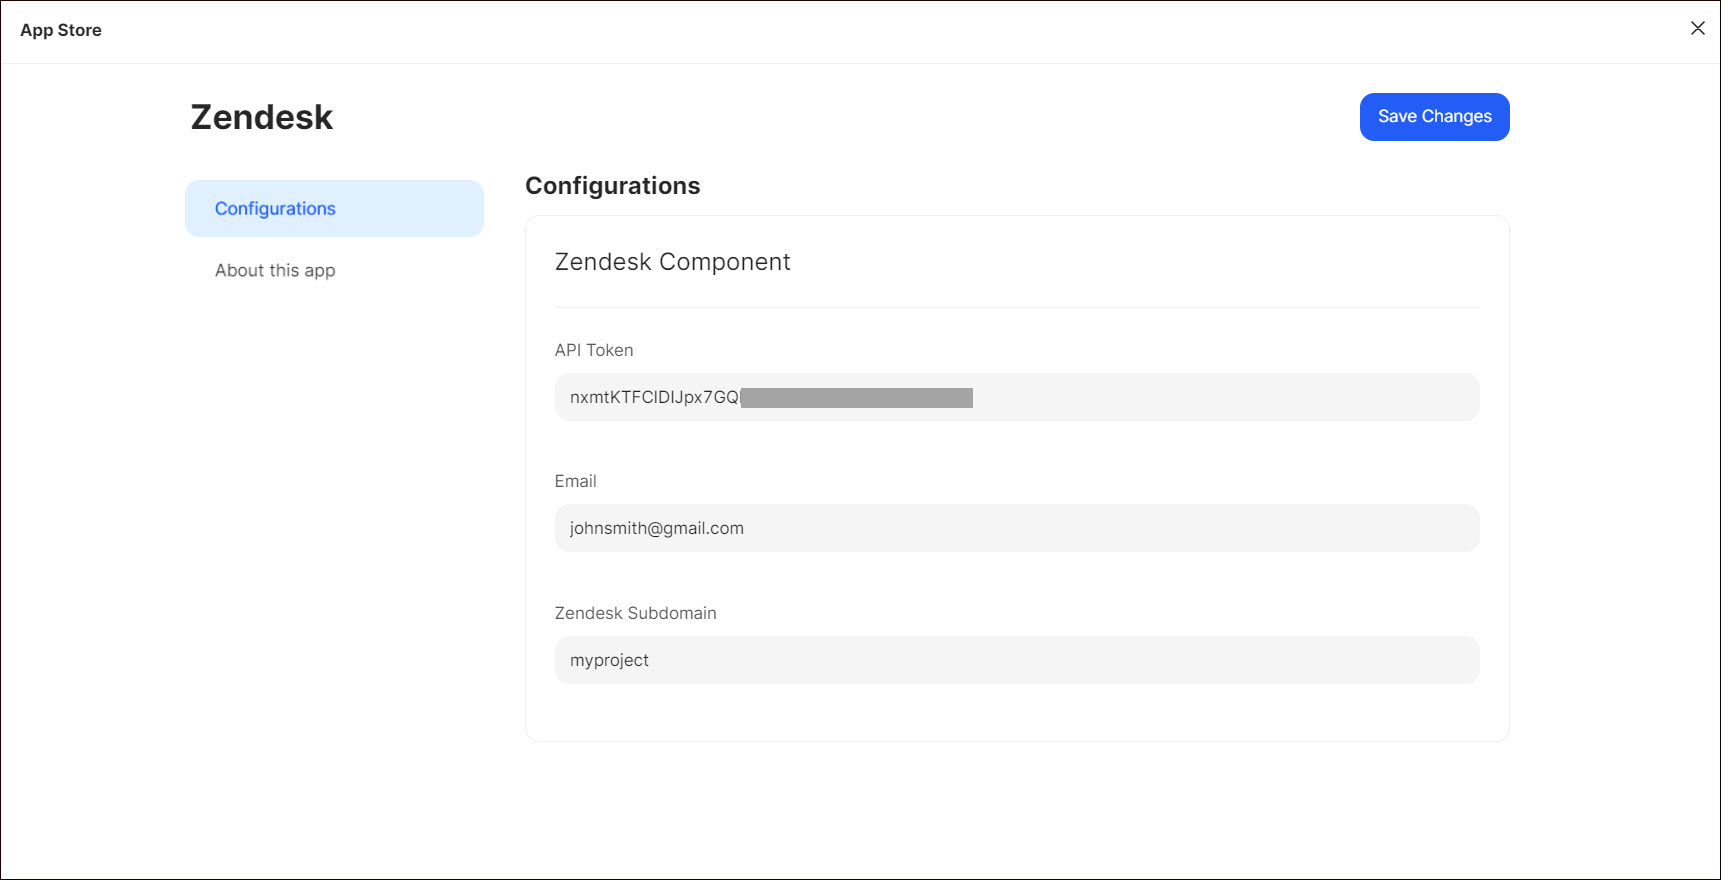
- Enter API Token, Email, and Zendesk Subdomain.
- Click Save Changes.
