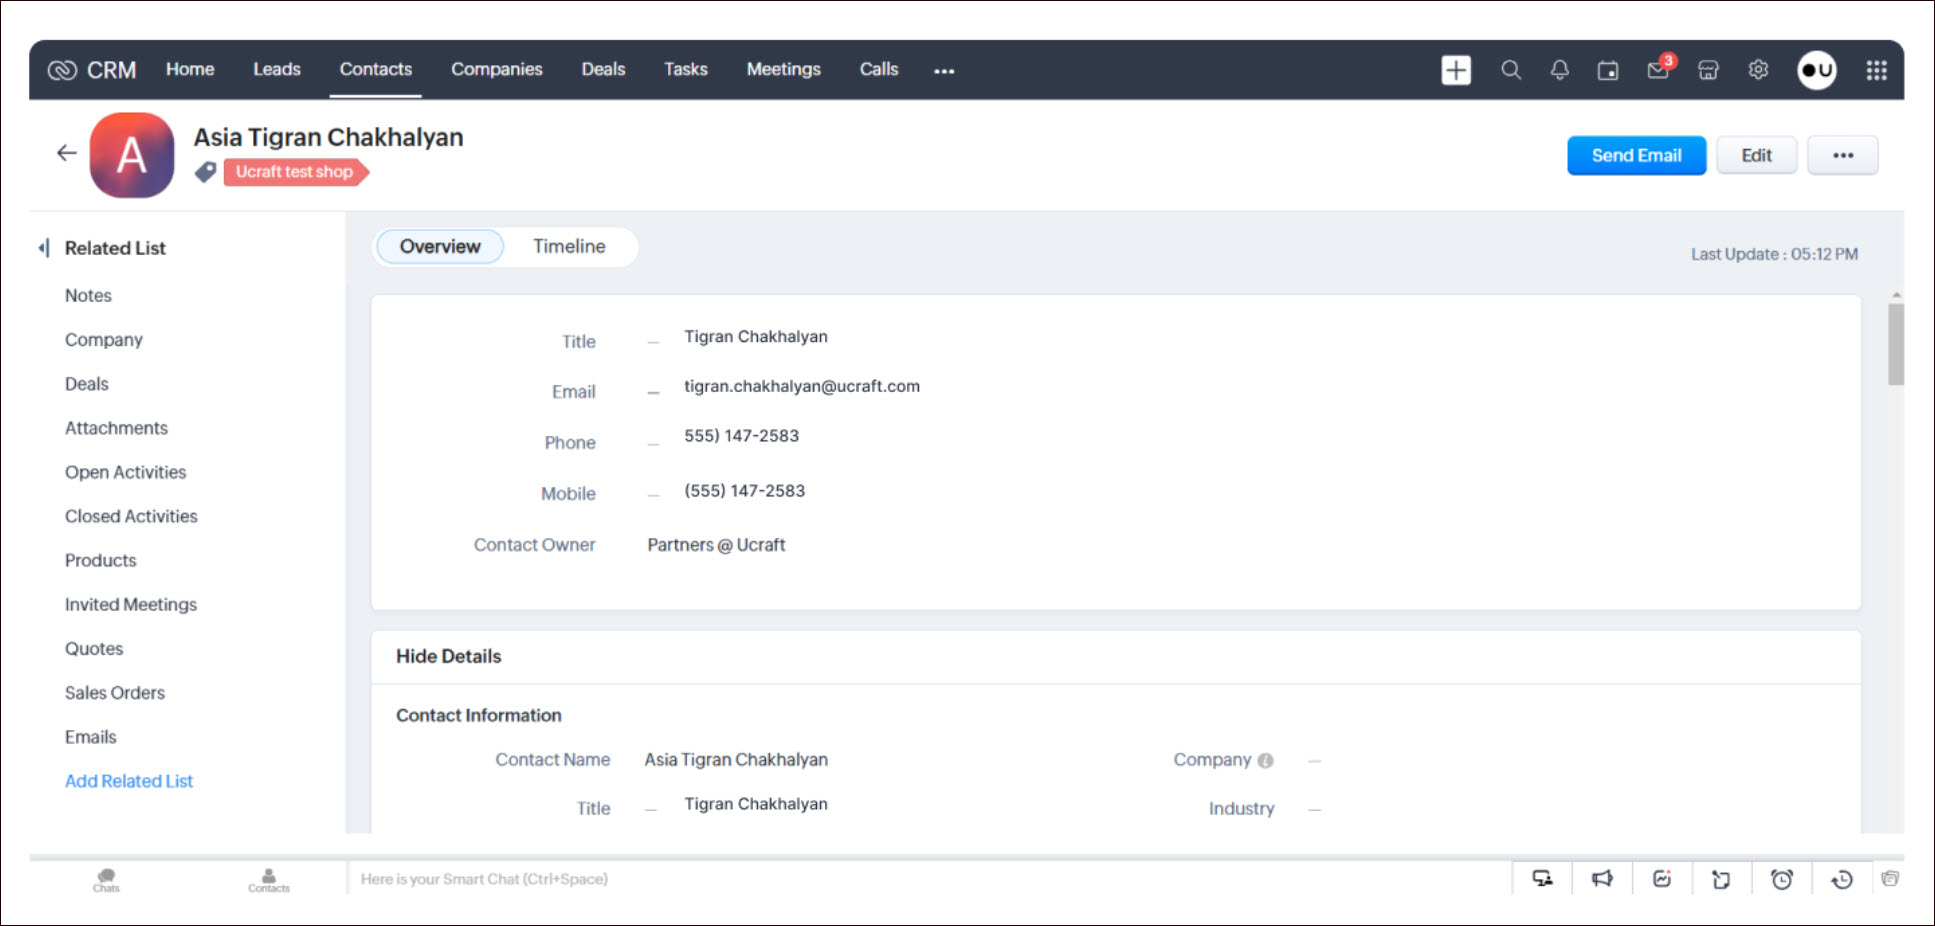
Zoho
Zoho offers a suite of applications for various business needs, including customer relationship management (CRM), human resources management, finance, collaboration, and more. The range of services provided by Zoho includes email hosting, CRM platforms, web conferencing and online meeting platforms, a low-code application development platform, etc. These applications cater to various aspects of business operations.
Getting Started
To configure Zoho in Ucraft Next, you need to create a Zoho account.
Set up Zoho
- Go to Apps on your Ucraft Next Dashboard.
- Click Get App.
- Select Zoho in the App Store.
Tip: To easily switch projects, click the project switcher at the top left of the page.
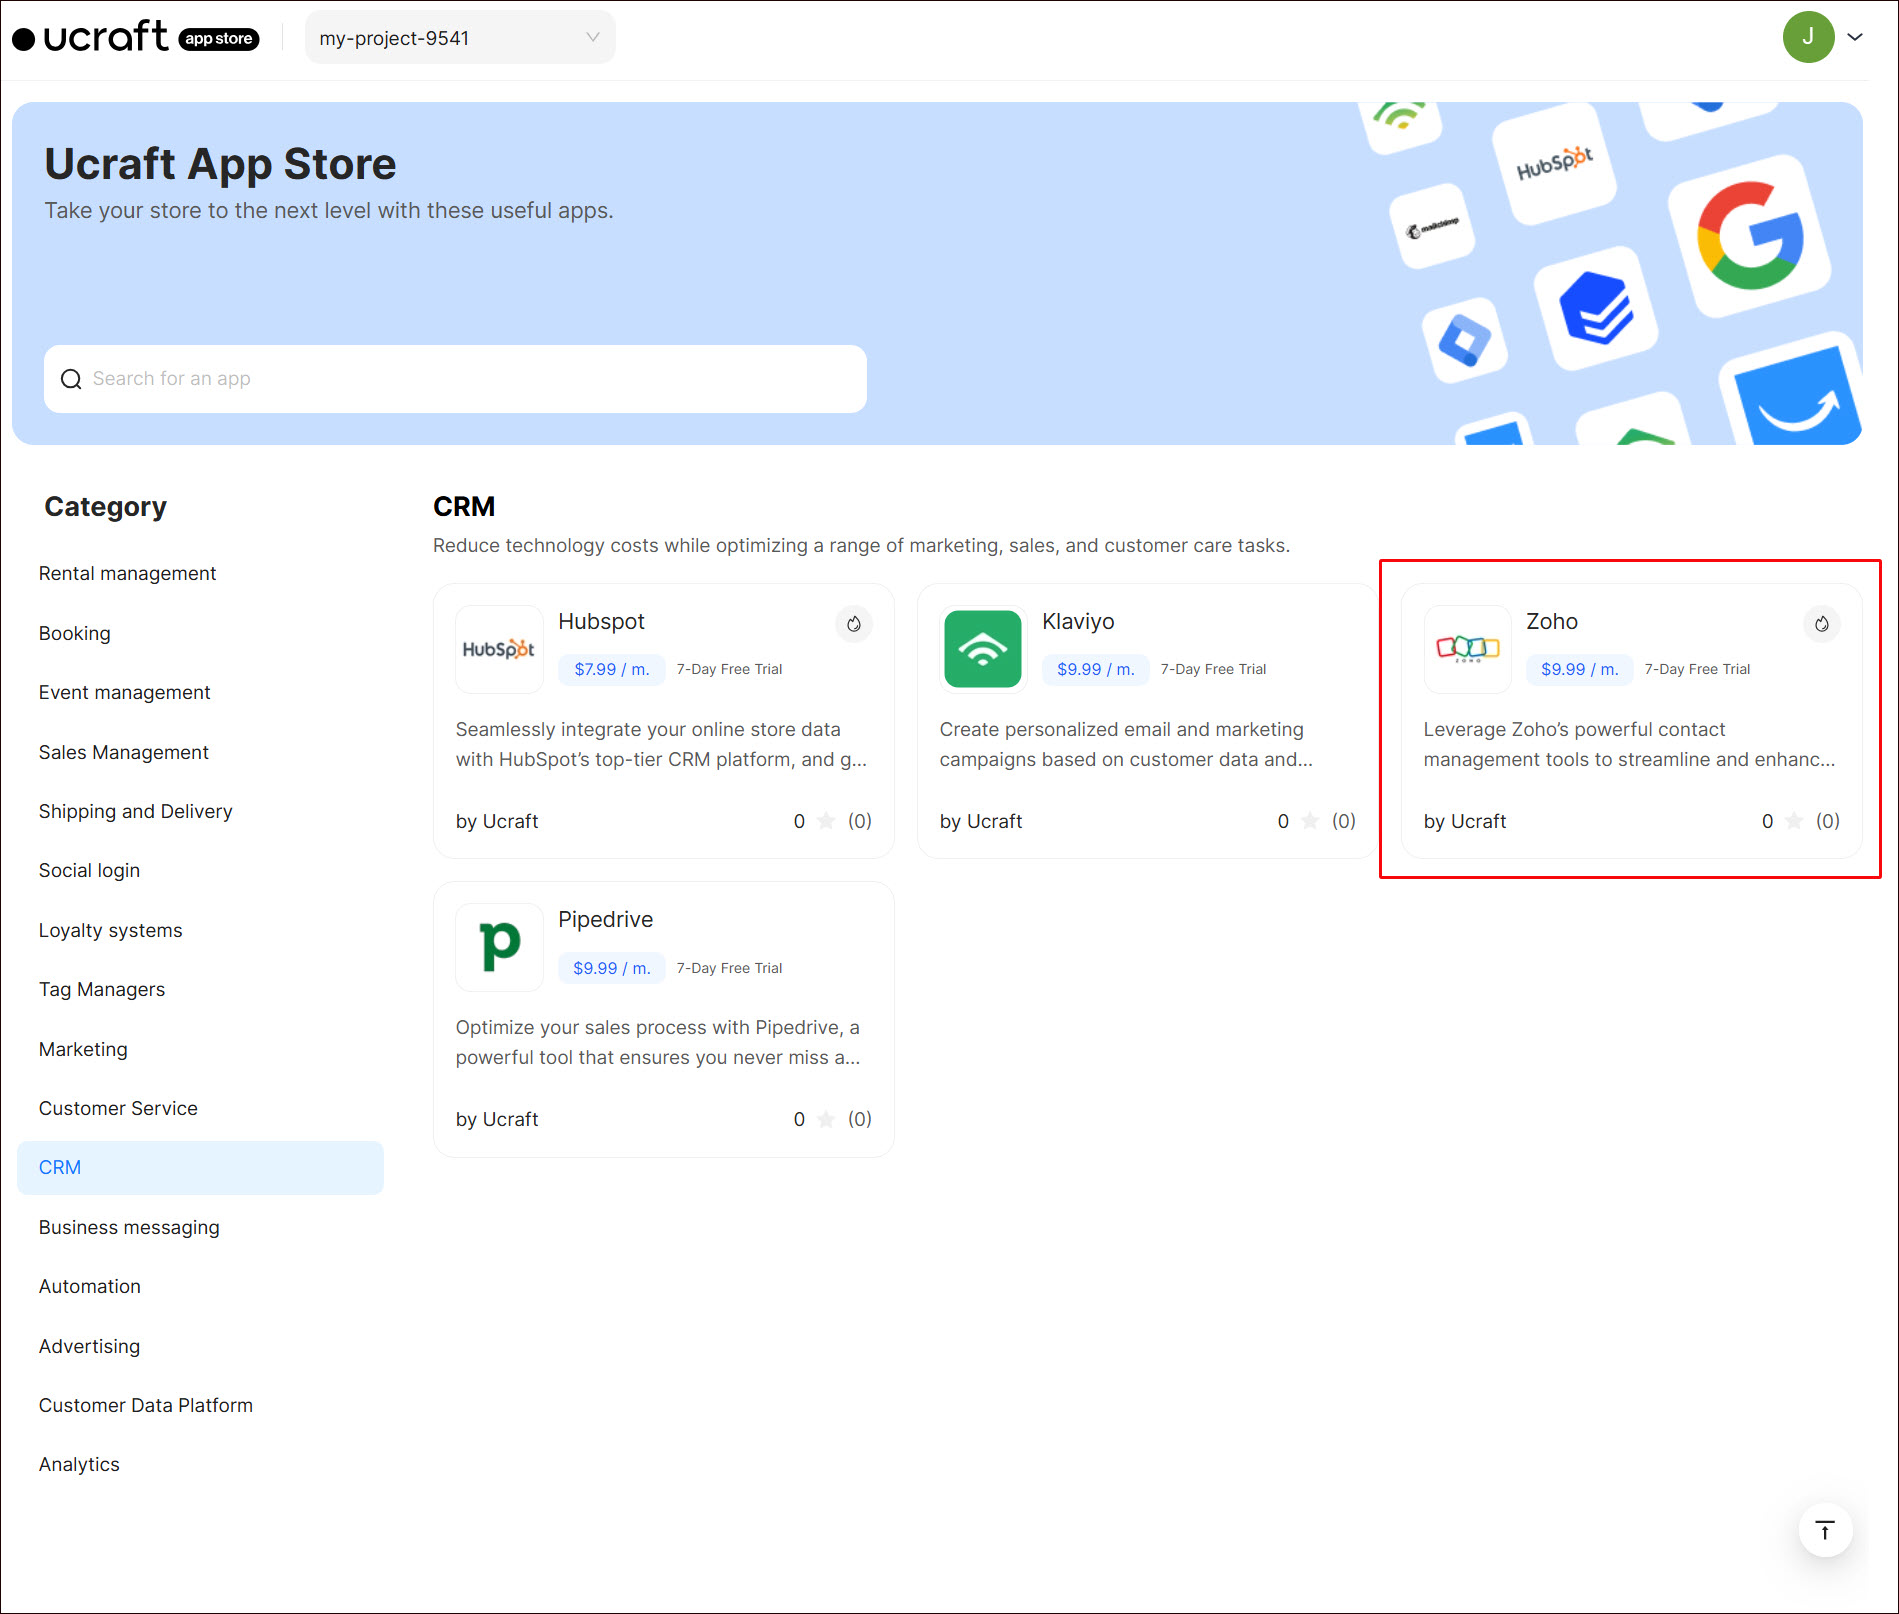
- Click Get App and then click Install.

- Complete the purchase flow and click Go to my project.
- Click Connect Zoho.
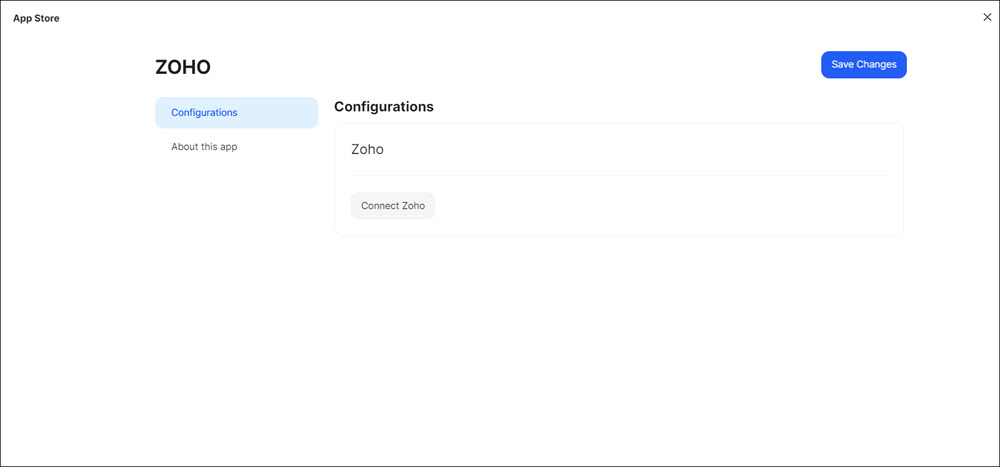
Select the corresponding project in your Zoho account and click Submit.
Click Accept on the access information page.
Go to Mapping and click + Add event.
Select the corresponding Zoho module from the drop-down list.
Select your events to map Zoho modules.
Locate the fields corresponding to the data you want to map, such as First Name, Last Name, Company, Email Address, and any additional details related to your event.
Click Save Changes.
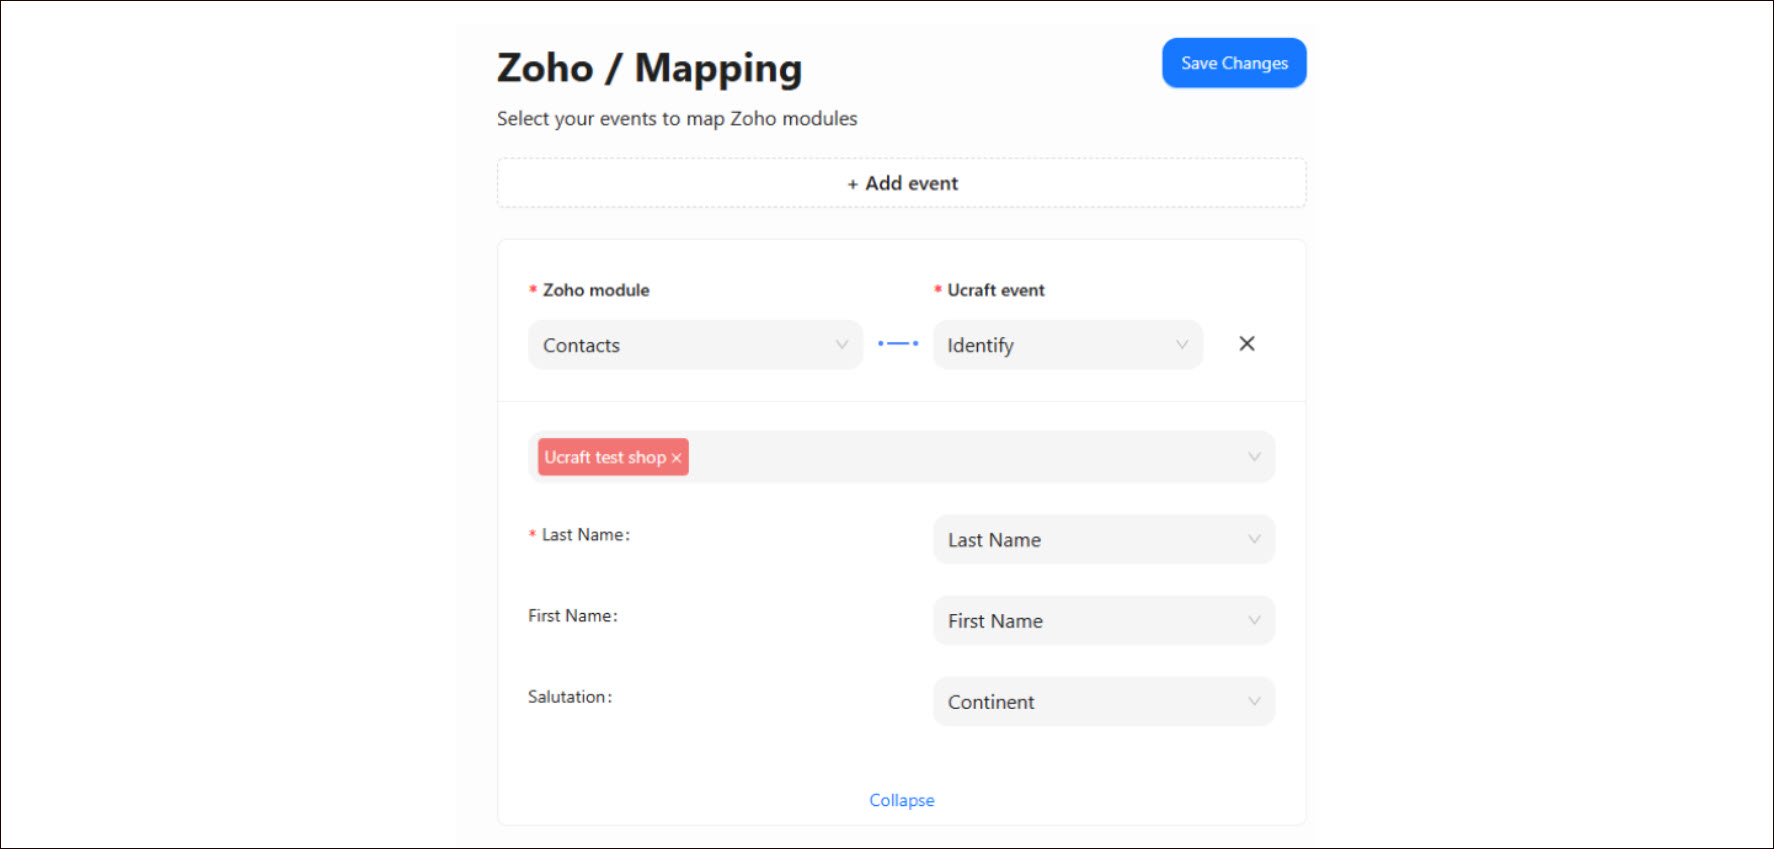
The First Name and Last Name fields typically refer to the names of the contact associated with the event. These are used to link the event to a specific person in your contact database.
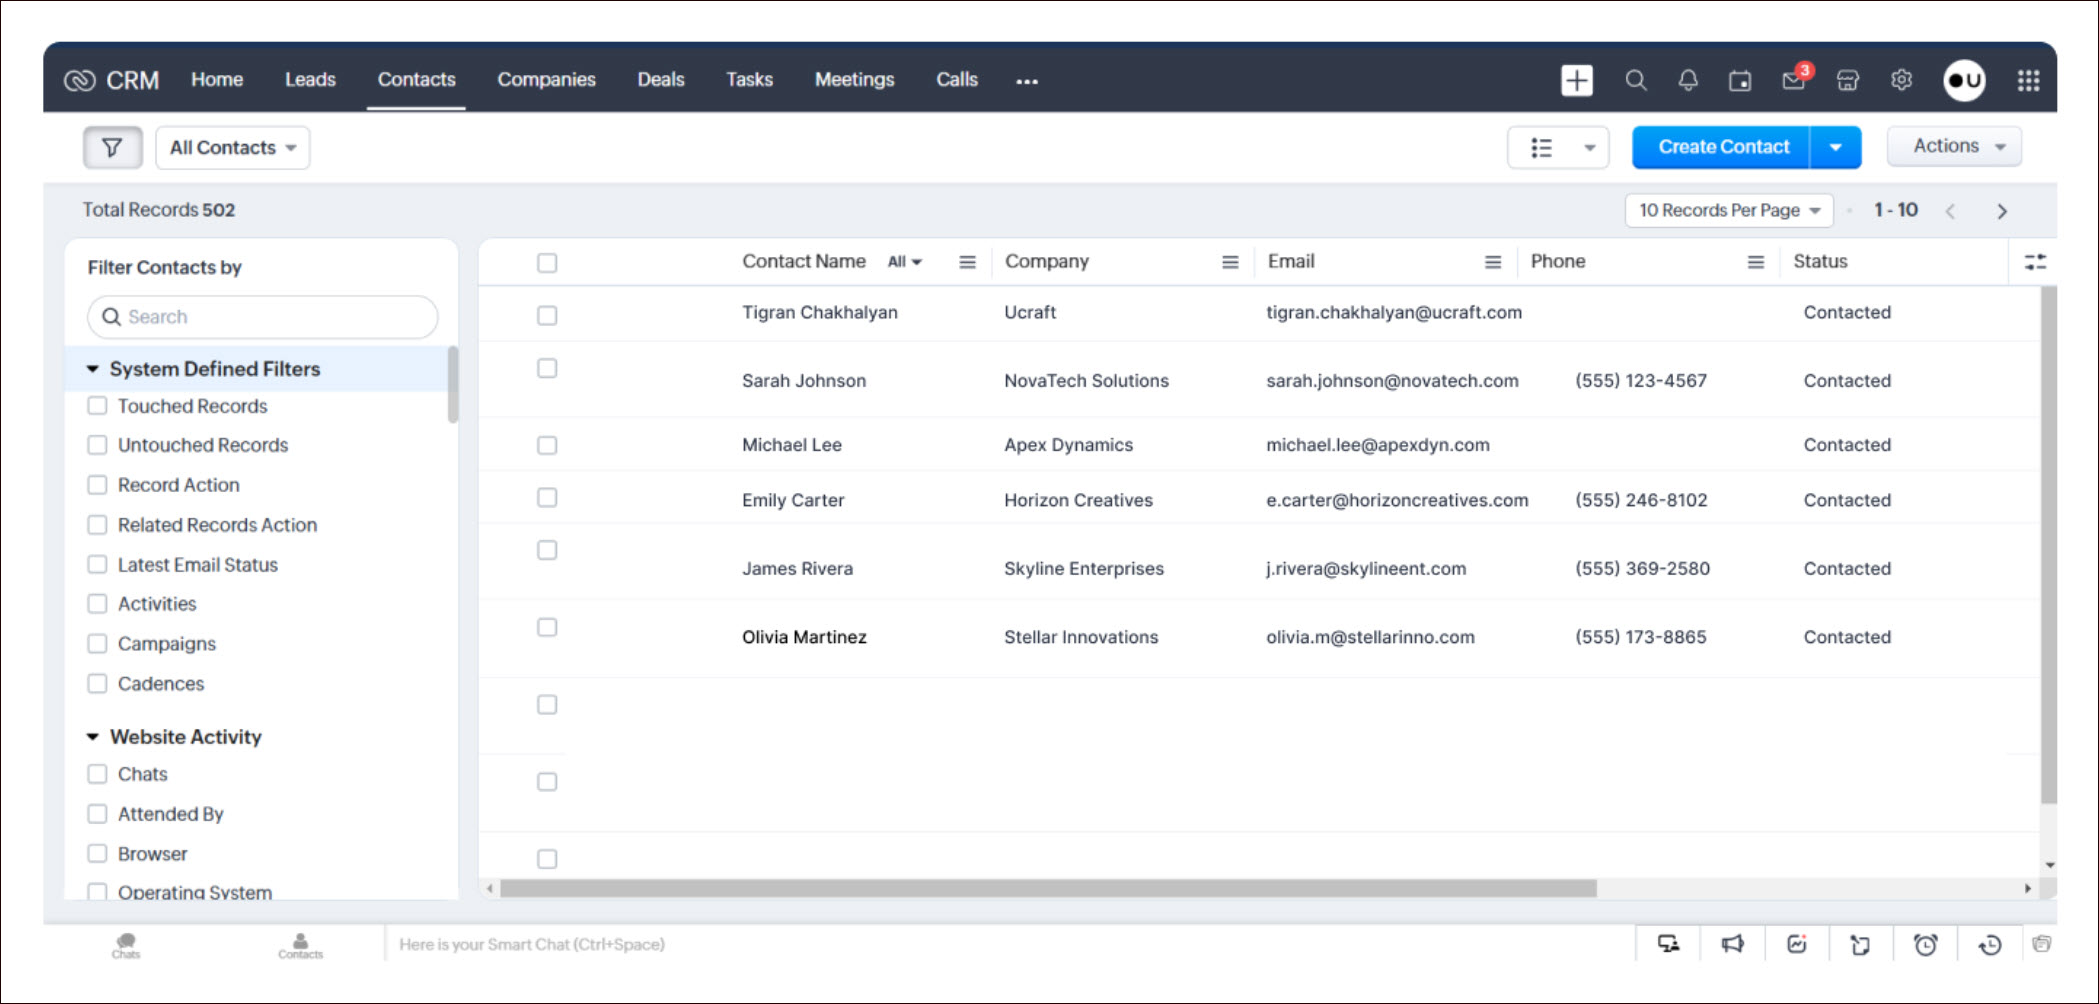
Here's how it works:
Contact Identification: The first and last names are matched with the corresponding fields in your data source to identify or create the contact in Zoho.
Event Association: Once the contact is identified or created, the event (such as a meeting, call, or task) is linked to that contact, ensuring proper association and organization in the system.
